well, hello!

Hannah Flora is a Content Producer, DIY'er & Interior Stylist living in New York City.

 Contact: Hannahvillio@gmail.com

categories
The Nest

Looking for something?
let us build it!


Custom pieces using reclaimed material


Appearances

DIY All Star ChallengeDallas Street Merch

Thrift Store Challenge

DIY Table Top

HGTV - First Time Design

got hitched!

We did it! We're married! Check the Bells tab for our take on planning a wedding!

instagram
Thursday
May092013

Life Admin & Sneak Peeks

Happy Thursday! Here's a snapshot of our week:

- street merch is starting to reappear as the weather warms up! i don't normally recommend picking up upholstered stuff, but how bout this chair. 

- some of our dearest friends in Brooklyn had their baby!!! Family is happy and healthy. Baby is puhhhhrrrreshos. Baby Luke Hudson. Darling name, hu? We helped with the baby room - it has a Boy meets Texas meets Brooklyn. Pictures to come.

- i've started an herb garden!!! we've had tons of rain the past few days and the garden is thriving. it's the most welcome sight when i look out our bedroom window every morning.

- our 1 year anniversary is this sunday. WHAT?! you can expect a full wedding recap on the 12th.

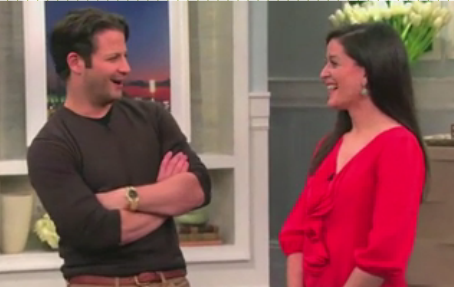
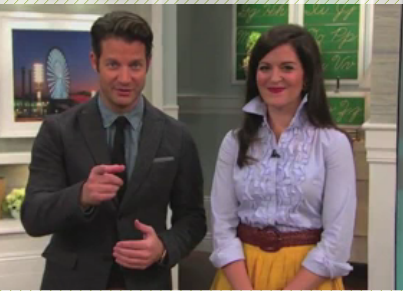
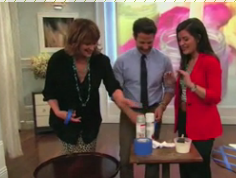
- i'm helping a client with her wedding registry and you know who i've got to recommend? Jonathan Adler. He has some great gifty stuff and covers a wide range of price points. You should check it out!

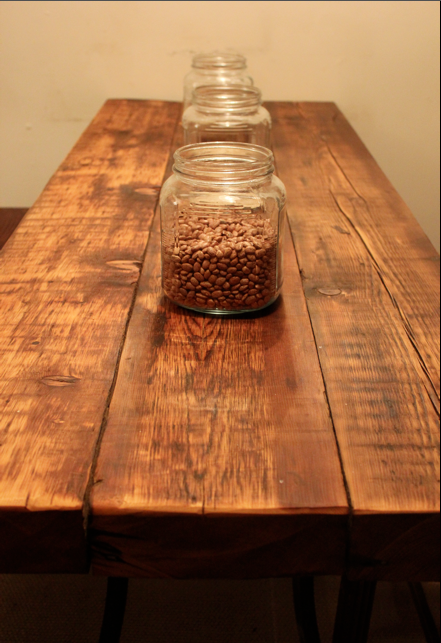
- also, i'm crafting a before & after post for the Jane street apartment redo. Here's a peek at the bedroom before . . . 

thats all for now. enjoy the sunshine!


Friday
May032013

fridays are for diy projects & giveaways!

Hello Hello!! Sorry for my radio silence this week, I'm just back from a quickie work trip to Miami. Aside from it raining almost the entire shoot day, it was a great trip. And the warm weather made it feel like vacation. What a treat. Brooklyn Boy and I thought about making a weekend of it, but he decided to be all responsible and selfless and instead, stayed in the city to help produce/host an event for one of our favorite non-profits, A House on Beekman. What a pip squeak that Brooklyn Boy.

Anyways. I know you're probably feeling maxed out with all these DIY videos, but I've got 3 left to share with you. Home stretch! You can totally make it!

Today - we're talking about making your own artwork. I would deck my walls with prints and paintings if I had the funds, but one of a kind artwork can get expensive! This is an easy way to spruce up a bare wall or even make/give a personalized gift. 

Here's what you need:

Existing artwork / canvas / print

Sticky Letters (usually used to label mailboxes / boats (yes, I said boats, that's always the picture on the packaging! labeling your giant boat! anyways.))

Paint - Great time to use paint you already have or a new paint sample color

Here's the full How-To featured by the lovely folks at The Nest

See, super simple right? 

Here's where you come in - I'm giving away the finished product to a reader. Just post a comment on this post by next Wednesday at 5pm EST. Winner will be announced on Friday! And then bam! diy art at your doorstep!  Ready go!

Wednesday
Apr242013

DIY Vases

I'm back with another DIY collaboration with thenest.com

This project focus's on an easyyyy way to update a centerpiece using supplies you already own. I'm all about working with what you have, rather then purchasing more stuff. Simplicity just feels good sometimes. 

Take a look! 

Tuesday
Apr232013

Printic

Product alert!

That's a term my sister and I use when one of us stumbles onto a new beauty-cleaning-recipe-tech find and feels that the other sister MUST know about it. We get really into our product alerts. Anyways, today's is an app called Printic! The founder, Flo, reached out and asked if I'd try the app for free / for fun. It's an easy way to print and share photos from your iphone, instagram or facebook and at 99 cents a print, it's really affordable!

The app was easy to use, and I received my pictures just days later after a few clicks through the app. So easy and I love the finished product! (disclaimer, I'm desparte for a manicure the following pictures!) 

My first picture with Brooklyn Boy - an early dinner date at Tortilla Flats

Norma Girl

And our dear Brooklyn friends of ours who are expecting their first baby in three weeks!!!

Printic photos would make a great pick-me-up for a friend or even a gift topper. Thanks for letting me try it out Flo! 

Friday
Apr192013

DIY Nautical Lamps + the Liza Oz Show

Yesterday, I had a fun opportunity to lead a DIY project segment on the Lisa Oz show. Her show is on the lifestyle and wellness channel, Viera, and features a variety of lifestyle topics and guests. I was thrilled to be asked on! The producers and I decided on a super simple and impactful DIY project - a lamp shade + base! 

Here's what you'll need: 

- existing lamp base + lamp shade (think thrift store / grandmothers attic / garage sale)

- rope

- fabric 

- hot glue gun + hot glue

- scissors

I found these lamps at the Hell's Kitchen Housing Works - ignore that price tag! I paid way less then that. The shape of these lamps was perfect for the project - 

Here are my main materials: shade, base, fabric (leftover from my DIY headboard) and rope.

First, clean off the existing lamp base. Hot glue the rope to the bottom of the base as you slowly wind the rope around the base.

Adhere the rope to the base with hot glue every 7-10 inches.

Repeat until you get to the top of the lamp base and securely hot glue the finishing edge. 

Once you're done with the base, it's time for the shade! First, pick out fabric you'd like to cover your shade with. Cut the fabric down to the approximate circumference of the shade. I actually found it easier to use two pieces of fabric, rather then wrapping the shade in one large piece. Wrap the fabric around the shade, using clothespins to temporarily hold in place. Check to make sure your pattern looks right.

Once your fabric is arranged, start making your way around the rim, folding the fabric over, making a nice edge and hot gluing to the inside rim of the shade. 

Once the top rim is done, move to the bottom, repeating the same steps. (Ignore my unfinished edge!) You could easily add trim or detail to the rim too! 

Done! Pretty painless, hu? Here's the finished lamp: 

And here's the darling Lisa Oz and our finished DIY lamp. Thanks for having me!


I'll let you know when the segment airs!